
Follow this guide to update your application statuses into the Lightning Reach portal
- Stage 1: Export your application data to your CRM
- Stage 2: Set your applications to ‘Reviewed’
- Stage 3: Action your applications in your CRM
- Stage 4: Update your applications
Stage 1: Export your data to your CRM
1. To start, please head over to your Application Manager
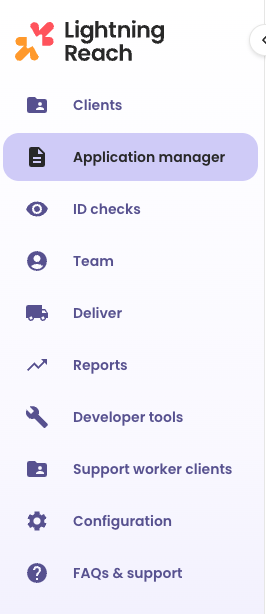
2. Ensure that your screen is filtered by ‘submitted’ applications

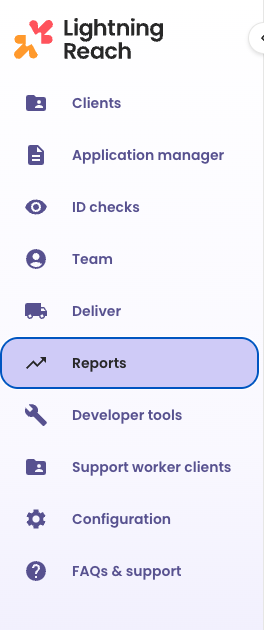
3. Click ‘Reports’ on the left hand side of your screen
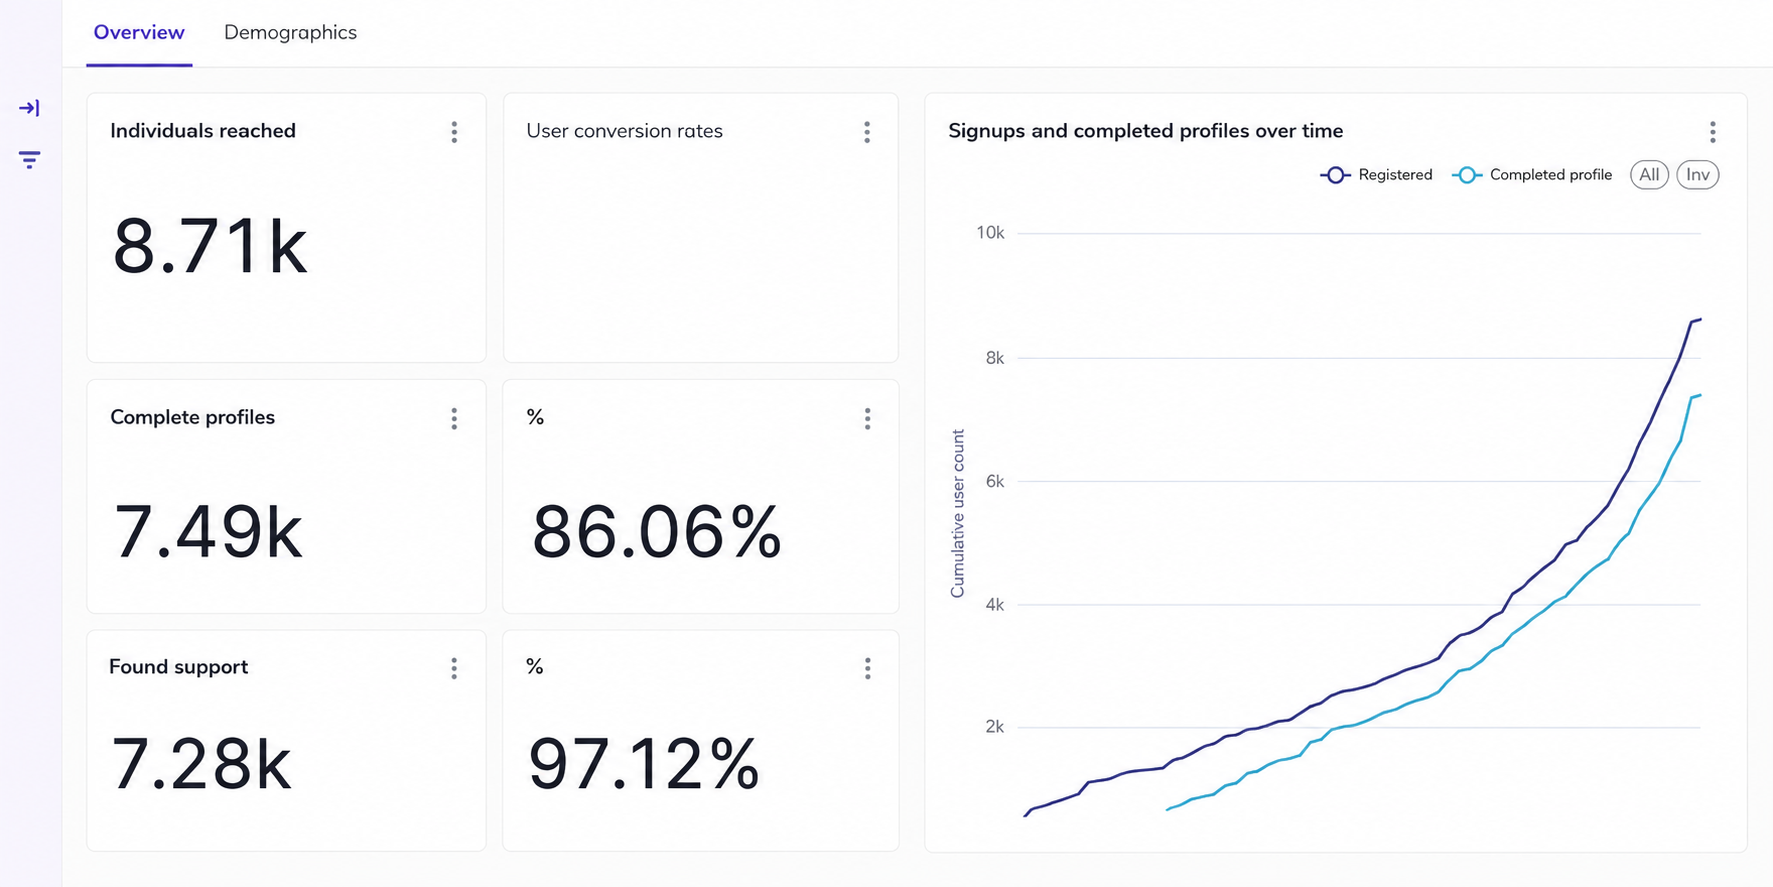
You will see your dashboard (Note: if you have a custom dashboard, you will see that here)
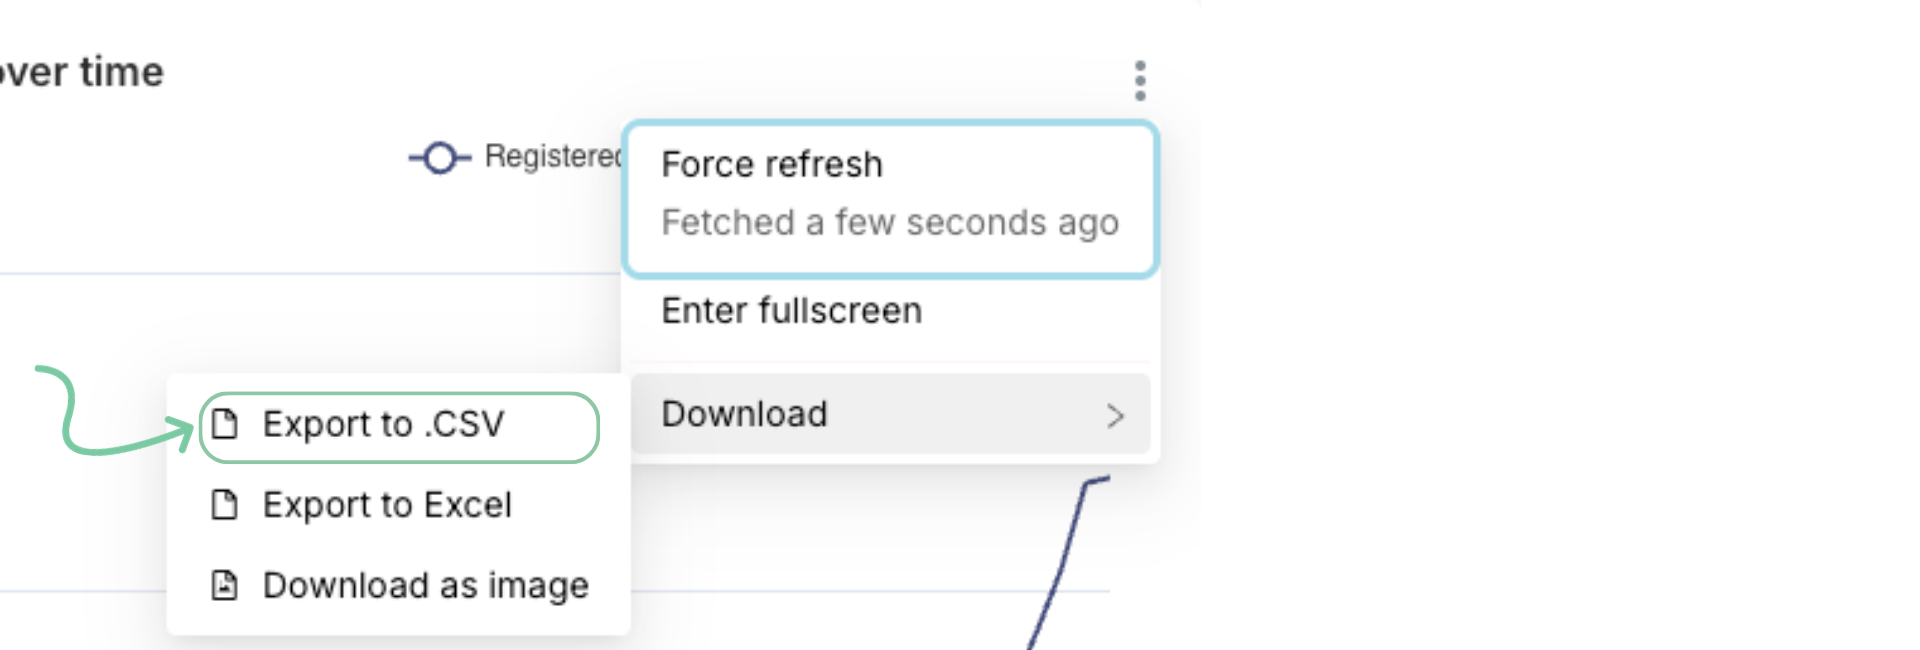
4. Click the 3 dots at the top right of your dashboard
5. Click ‘Download’
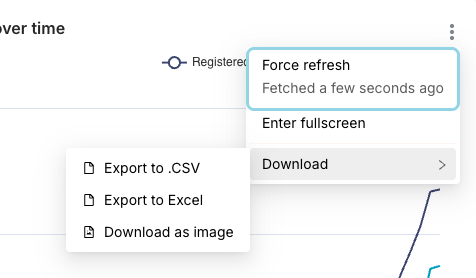
6. Click ‘Export to CSV’
Stage 2: Set your applications to ‘reviewed’
To ensure that you don’t duplication an application data onto your application manager
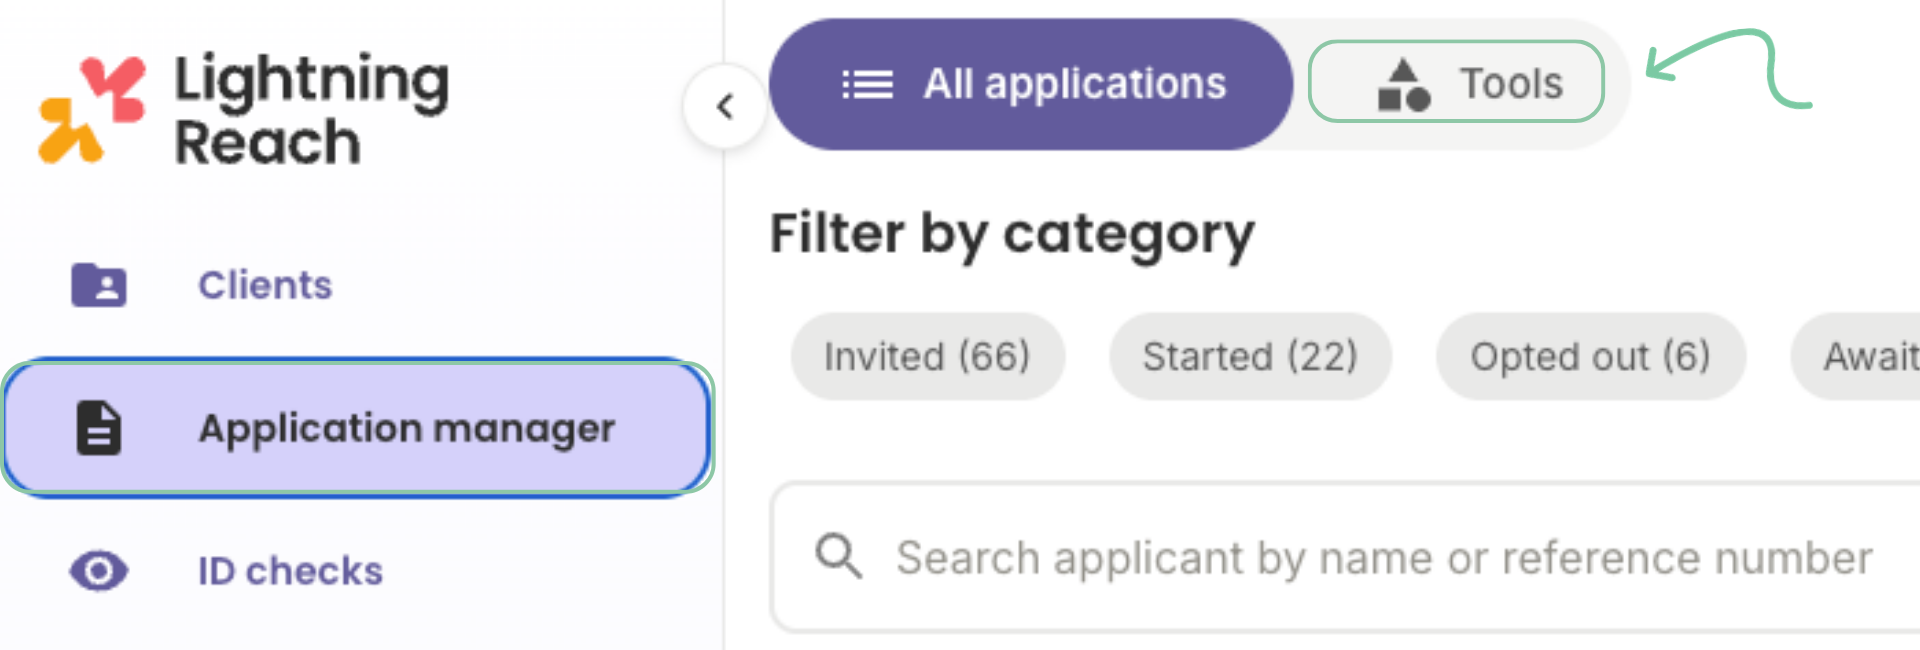
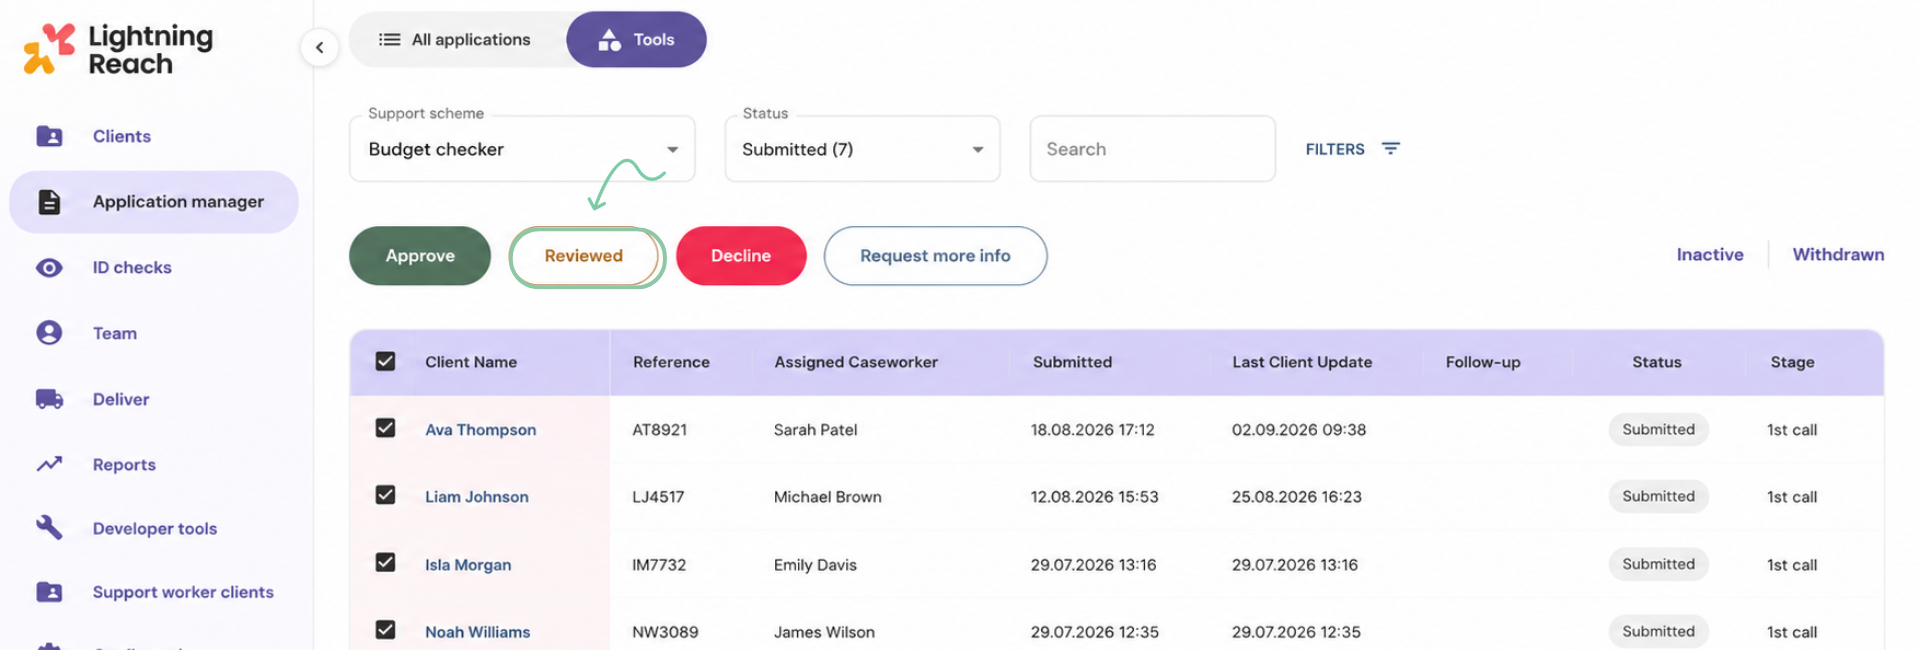
1. Return to your application manager and click 'Tools'
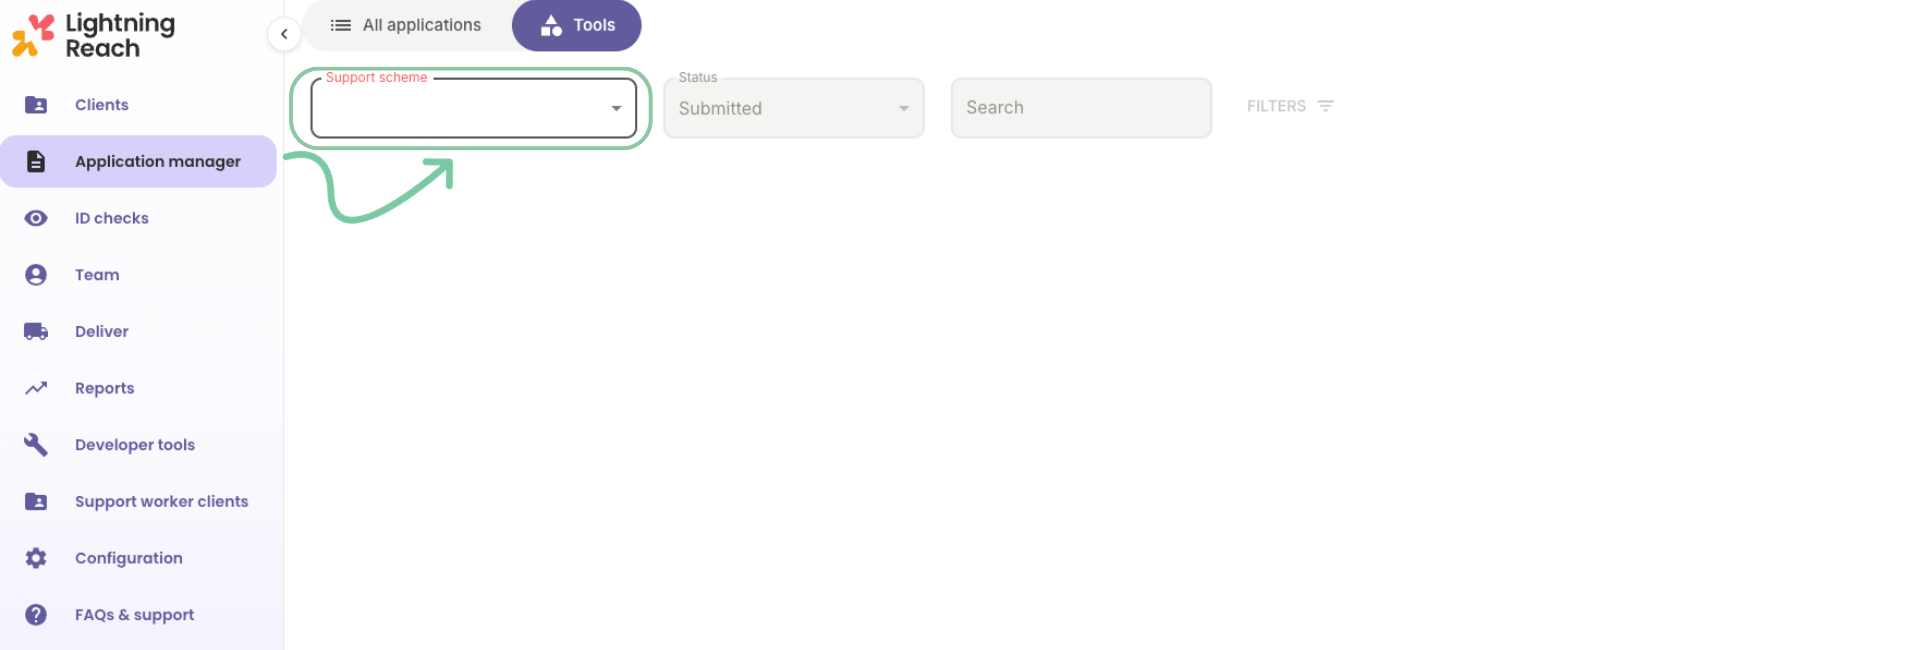
2. Click on the scheme that you’ve just exported
3. Select the tick box in the blue bar next to ‘Client name’ - this will highlight all the submitted applications
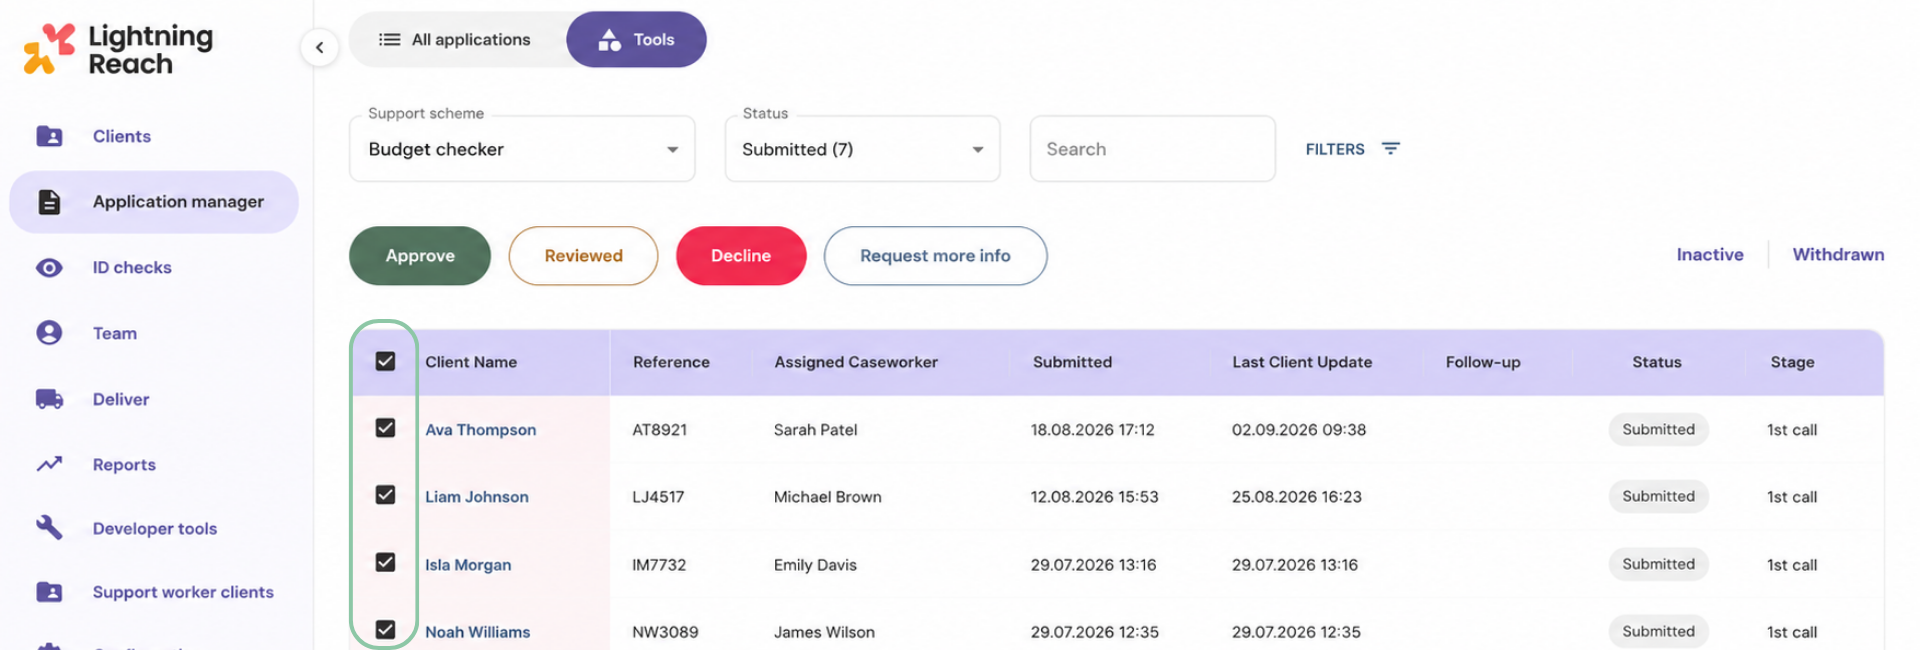
4. Click the orange ‘Reviewed’ button
This will ensure that all of the applications that have been exported won’t get mixed up with any new applications that come in.
Stage 3: Action your applications in your CRM
1. Action your applications as needed
2. Update the applications
3. Change their statuses
Note: The statuses of the applications that you’ve just imported into Lightning Reach must match the wording that we use on the Lightning Reach portal so everything imports correctly onto your application manager:
- Approve
- Reviewed
- Decline
- Request more info
Stage 4: Update your applications
Import your updated CSV back into the Lightning Reach portal
1. Export the CSV from your own CRM
2. Go to your Application manager and click ‘Tools’
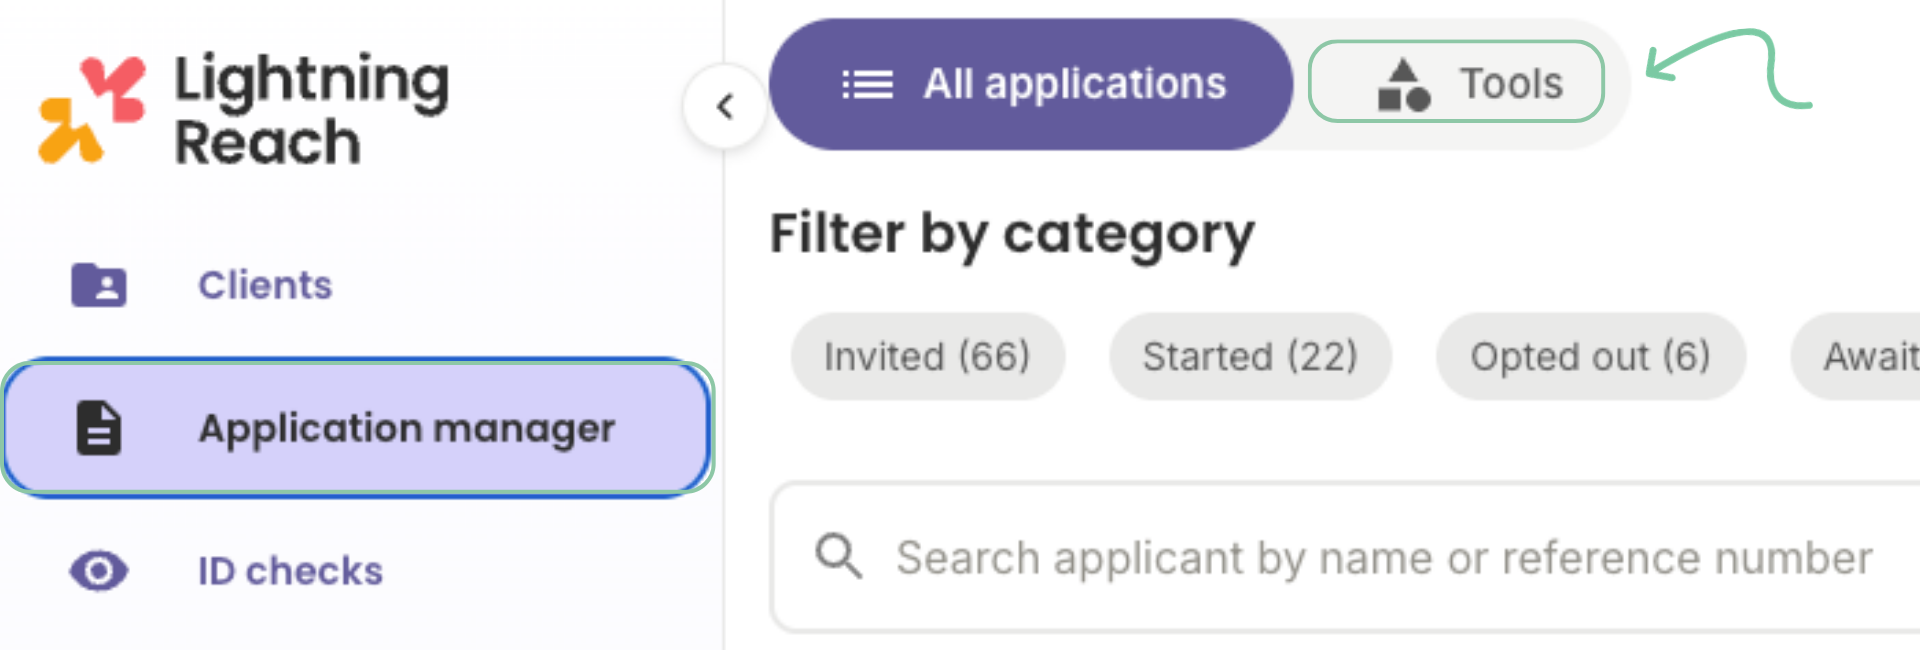
3. Click on the Cloud icon on the right side of the screen
4. Click ‘Select CSV file’
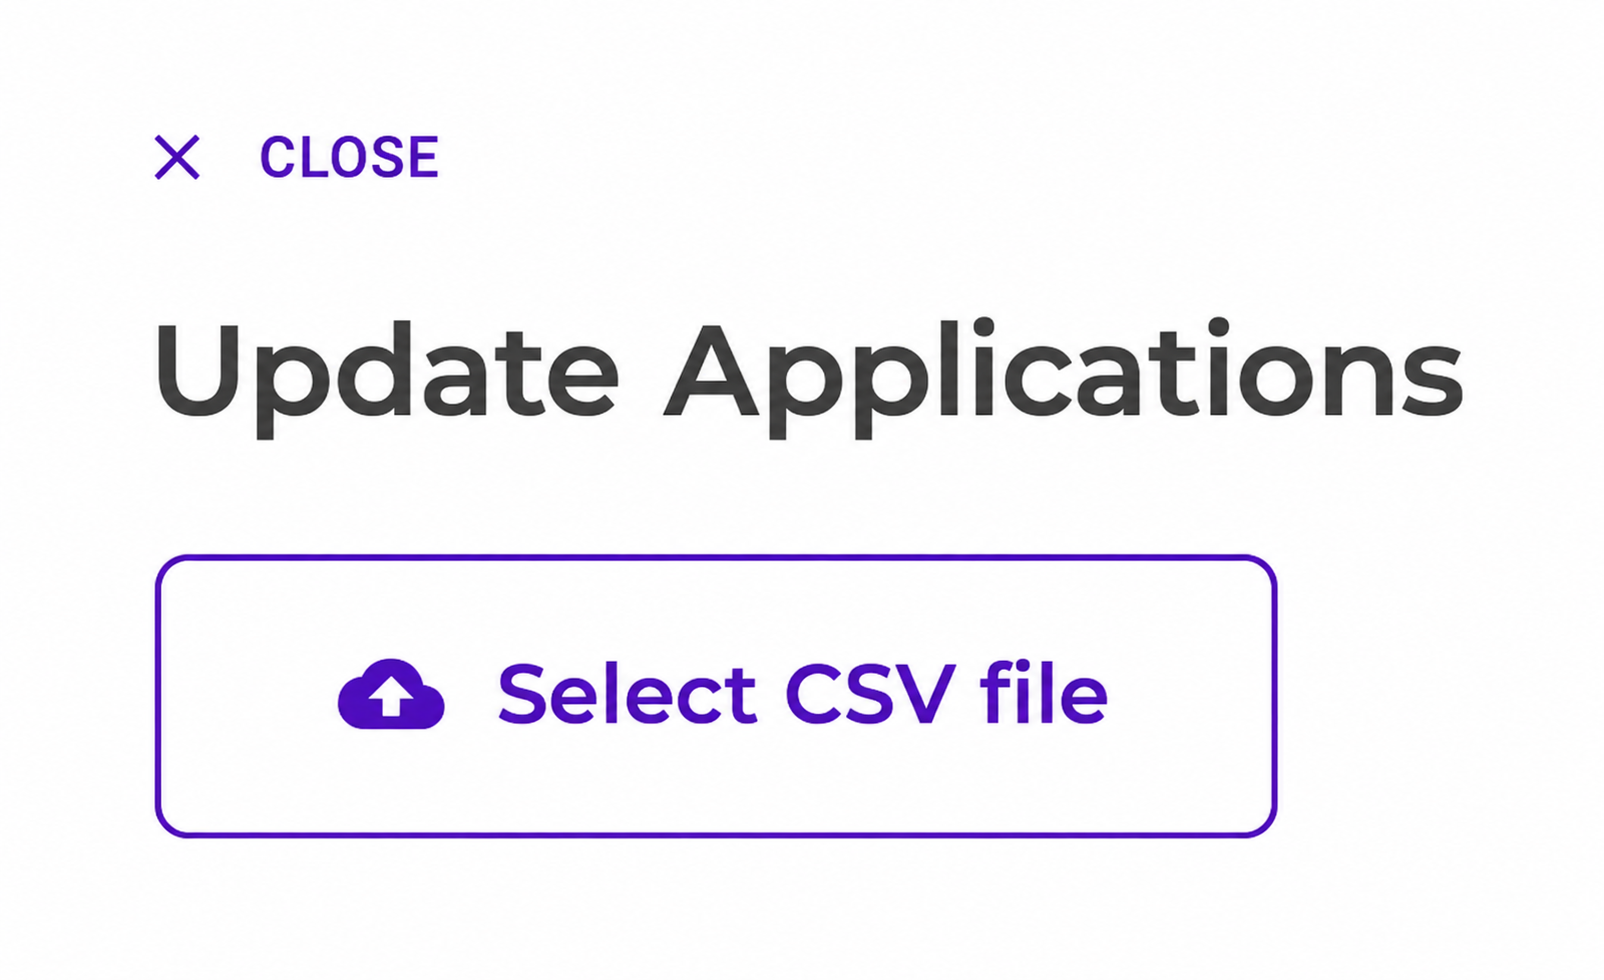
5. Click ‘Confirm’ and then you're done
For help updating your import statuses: please take a look at this template document: